- Home
- Knitting Stitch Patterns
- Broken Rib Stitch
Broken Rib stitch pattern - 2 knit stitch patterns in 1
The broken rib stitch pattern is a simple way to create a beautiful looking texture out of simple 1 x 1 ribbing.
It's so pretty and so easy to knit and it's great for beginner knitters too so grab your yarn and needles.
The broken rib is made up of one knit row, followed by a 1 X 1 ribbing row. The knit row breaks up the ribbing creating a beautiful stitch pattern.
One thing to keep in mind is that it's not as stretchy as a regular ribbing stitch so make sure to knit a swatch.
Some Cool things about the broken rib stitch pattern
- the broken rib stitch is a 2-row repeat
- uses simple knit and purl stitches
- very easy to memorize
- Lies flat
- reversible - Looks lovely on both sides
- Makes a pretty allover stitch pattern
- Is great for beginners
because the broken rib is reversible here are some suggestions on what to make
I'd love to make a scarf or blanket, dishcloth, sweaters, shawls and hats. Knit a hat that's reversible, what a cool knitting idea.
It is also a great stitch pattern for pillow covers because it's reversible. It's really eye-catching.
And just a note, this stitch pattern works well for everyone, I've seen mens sweaters, shawls and baby blankets and all are lovely.
The hardest part is deciding which side to use as the right side.
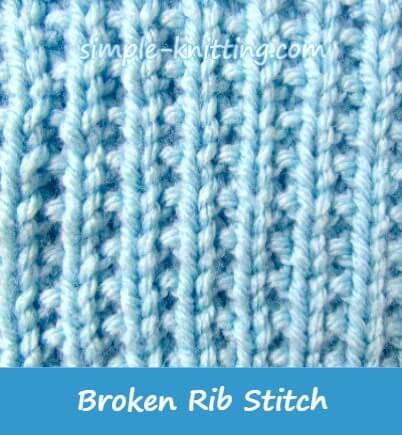
This is the broken rib stitch front view. You can still see the ribbing pattern stitch a little. But that one knit row is what makes it so special and pretty. It's like seed stitch in between the columns.
You have to see it on a shawl or baby blanket to really know how truly beautiful it is.
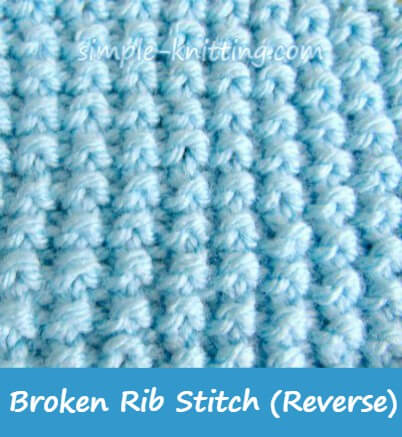
And this is the reverse side of the knit broken rib stitch. It's such a nice nubby textured piece of fabric

This lovely reverse side is called the rice stitch pattern and it's so pretty too.
If you decide to knit a scarf or blanket each side will be different. What a fun knitting project this can be.
To download the broken rib stitch patterns click here
Broken Rib Stitch Pattern
You can knit broken rib stitch with an odd or even number of stitches. Both ways are below plus if you enjoy knitting in the round I've included the stitch pattern instructions for that also.

Broken Rib Using Odd Number Of Stitches
Row 1: Knit
Row 2: * P1, K1, rep from * end with P1
These 2 simple rows create this pretty stitch pattern.
Broken Rib Stitch Using Even Number Of Stitches
Row 1: Knit
Row 2: *K1, p1; repeat from * to end of row
Repeat the 2 rows for broken rib stitch.
Broken rib stitch knitting in the round
This is worked on a multiple of 2 stitches
Row 1: Knit
Row 2: Knit 1, purl 1 around
Repeat both rows to create the broken rib stitch
Since the broken rib creates the rice stitch pattern on the reverse side I'm also including the knitting pattern for this stitch pattern too.
Rice Stitch Pattern

You can knit the rice stitch two ways. You could just knit the broken rib stitch pattern and use the reverse side.
Or use the stitch pattern below as well. For me...I'd probably work the stitch pattern below.
The rice stitch pattern uses an odd number of stitches
You will also need to know how to knit through the back loop so the link will take you to a super easy knitting lesson.
All set? Here we go...
Row 1: Purl 1, *knit 1 tbl (through back loop), purl 1, repeat from * across row
Row 2: Knit
These 2 rows create rice stitch pattern. That's all there is to it.
The rice stitch pattern for knitting in the round
Use an odd number of stitches
Row 1: Purl 1, *knit 1 tbl (through back loop), purl 1, repeat from * across row
Row 2: Purl
These 2 rows create the stitch pattern
This is such a versatile stitch pattern making it wonderfully easy to incorporate into your knitting.
want to try an easy knitting pattern using broken rib stitch?
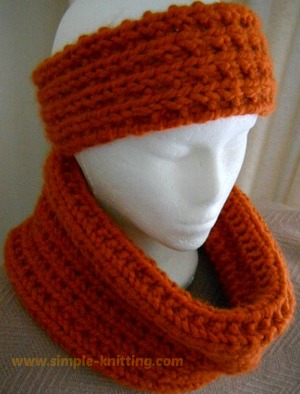
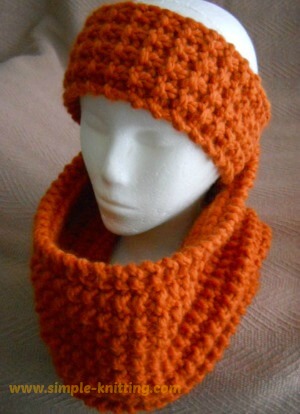
I like it so much I made an easy knitting pattern so that you can practice. And it's in a pretty autumn color too.
The broken rib stitch pattern is the left picture and the reverse side (the rice stitch pattern) is on the right. I think it's so pretty.
And here's the Broken Rib Cowl and Headband Pattern
Happy Knitting!


Comments