- Home
- Knitting Tips
Knitting Tips And Tricks
Simple little knitting tips and tricks of the trade so to speak can be so helpful as you learn how to knit.
Even when you know how to knit, it's fun to learn a new tip on knitting or some new knitting stitch.
And knowing a few knitting tricks can turn a so-so knitting project into a fun experience making it easier and quicker. It can even look better too.
What I've done is created two pages of knit tips, this one and a knit tips for beginners page called tips for knitting beginners.
Rather than sifting through the tips on this page, I wanted a dedicated page for new knitters as well.
I wanted to give beginners some extra knitting help as you begin knitting your first few rows.
Let's get started...
1. Long Tail Cast On Without Estimating Tail Length
I really enjoy using the long tail cast on. I like the nice clean stretchy edge it creates and how it makes my knitting look. But...
How many of you have tried casting on a lot of stitches only to find that you ran out of yarn before you were done?
And then the next time you tried, you over compensated and had three extra feet of yarn left? Arrgghh! Me too.
But not anymore, check this out.
Note: If you're a new knitter you will need to check out the original version of the long tail cast on too so that you have the full step-by-step instructions.
Then you can come back here and see this terrific tip for knitting the long tail. Don't worry I'll wait for you.
Long Tail Cast On Alternative
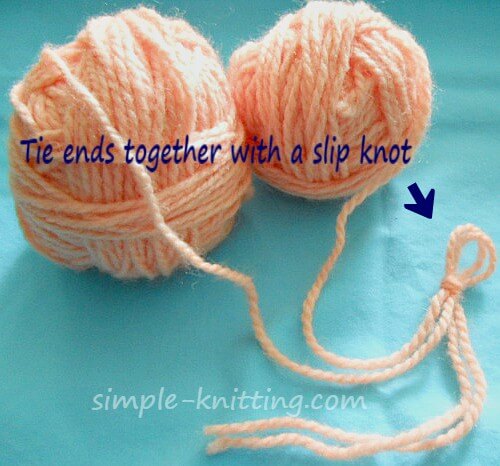
All you are going to do is use two balls of yarn or one ball using both ends. Now tie both ends together into a slip knot.
Then use both ends just like using one long end the other way.
Note: When you count stitches make sure not to add the slip knot as a stitch. You won't use it.
This is one time you don't use the slip knot as a stitch. It's just an anchor to start the long tail cast on.
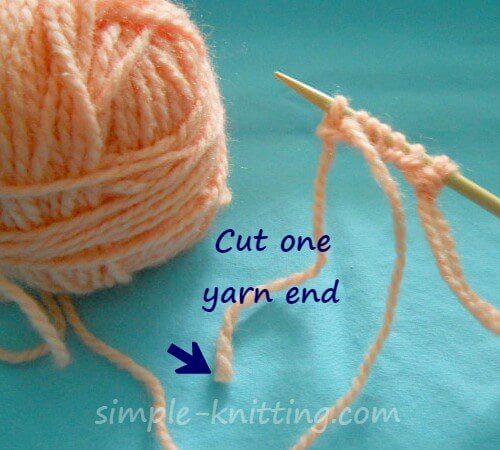
When you have all the stitches you need, cut one yarn end so that you're using just one ball of yarn.
Now you can start knitting your row until you come to the slip knot and stop.
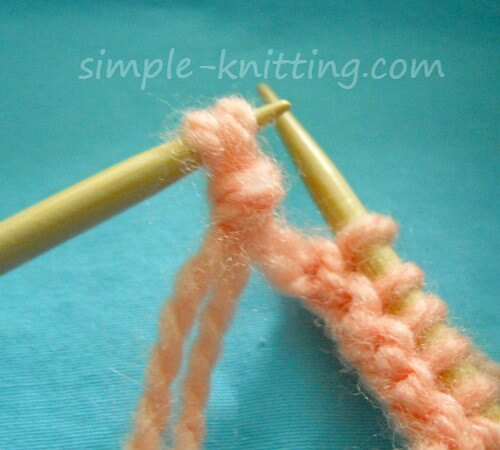
Remove the slip knot from the needle and...
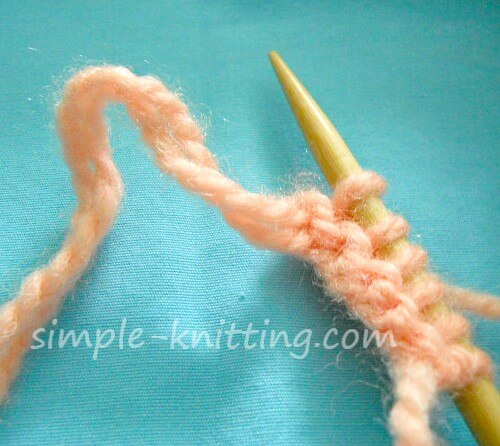
Just undo the knot and carry on
Isn't that great? I sure like it, especially when I am casting on two or three hundred stitches. And there's no wasted yarn.
The best time to use this cast on knitting method is when you have a lot of stitches to cast on. It makes it wonderfully simple.
2. biggest knit tips of all is learning gauge in knitting
Yes it really is one of the most important tips on knitting. When you learn what gauge in knitting is and how to check gauge your knitting will become easier.
It doesn't always have to be a hassle, come on now, give it a try.
Here ya go, have a look at my page on knitting gauge. I even give you three ways to figure it out so you can choose the easiest way for you.
It truly is that important and honestly when you get into the habit it will become second nature.
3. When You are Knitting a Gauge Swatch...
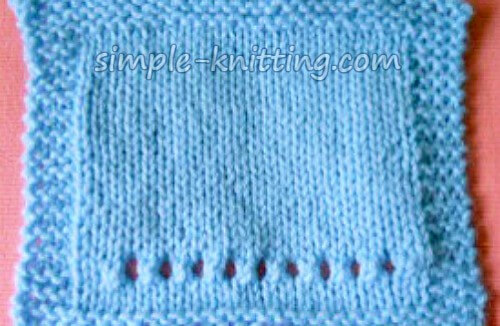
To make sure you don't forget what size needle you used for the swatch you made...
Just knit some eyelets for the size needle you used. In the picture above there are nine eyelets and I used a size 9 US knitting needle.
A simple eyelet stitch pattern is this: YO, K2tog. Or written out it's yarn over, then knit 2 together. That will form an eyelet stitch or a hole in your knitting.
Knitting Tips And Tricks Reminder
To get less stitches per inch use larger needles
To get more stitches per inch use smaller needles
4. tip for clean stripes when you knit rib stitches
Have you ever had to change colors when you knit rib stitches? And then you noticed that you have the new color poking through on the right side?
And when the stitches poke through on the right side it looks kind of messy and not crisp and clean?
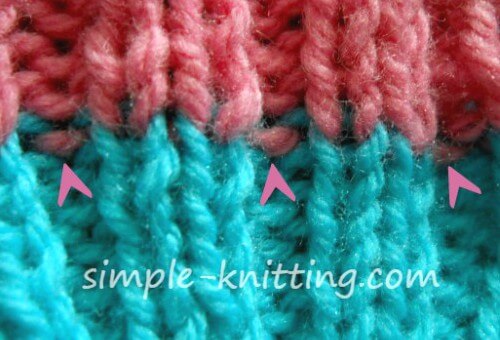
Well there's an easy fix for those stitches that are poking through on the right side.
And you're going to love this! Well....I sure did.
When you add a new color to your knit rib pattern knit the whole row with the new color first and then continue on with your ribbing.
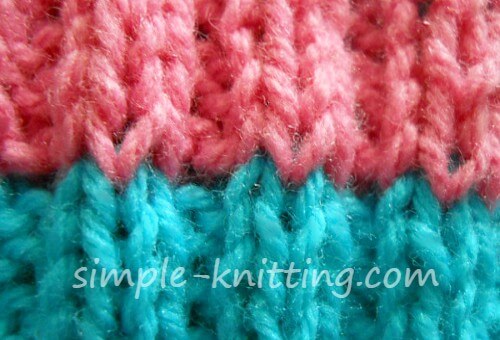
Now it's nice and clean and crisp.
5. When You Bind Off Knitting...
Do you ever find that you bind off stitches too tightly? And do you find that the last stitch on the bind off row is really loose and messy?
Me too.
But I have ways to clean up that bind off row once and for all and I even made a page about it to help you too.
Check out my bind off knitting tips page right here
6. Knitting Cables Without a Cable Needle. Oh My..
Sound scary? Maybe, but when I discovered that there was a way to cable stitches without using the cable needle it was a total epiphany for me.
Suddenly knitting cables wasn't so difficult anymore. You may feel the same way.
Have a look and see how to knit cables without a cable needle. I'd love to know what you think.
7. Holes On The Sides Of Your Knit Cable Stitch?
Do you ever notice holes on the sides of your knit cables?
And did you also notice that when you tried to tighten up the hole they just got bigger? Yup me too.
But it's an easy fix. Just loosen up on the yarn. It just means that you knit the cables a little too tightly.
Knitting cable stitches takes more yarn and the yarn gets stretched quite a bit when you knit them so again, just loosen up and they'll disappear nicely.
I love the easy fixes like this one...haha
8. Knit Front Slip Back Increase With No Bar In Front
This simple increase has been around for little while now and I've included it on my increasing stitches page.
But I think this is a great little knitting technique and warrants a spot on this page too.
This knitting increase is similar to the KFB (knit front and back) however it's made so there's no bar in the front of your knitting.
It's brilliant and so easy to do. Have a look.
Knit Front Slip Back Knitting Video
9. Simple knit tips for fixing knitting mistakes
Everyone makes mistakes in knitting. It's a fact of life and these simple knitting tips will show you how to fix those mistakes with confidence.
You'll be up and knitting in no time.
Twisted Stitches What is a twisted stitch? I'll show you and you'll never have twisted stitches again. Super, super simple fix
Tinking Great knitting technique for undoing stitches one at a time
Dropped Stitches Did a stitch slip off your needle? Here's an easy fix.
10: Ask For Some Knitting Help
If you ever need help with your knitting please click on the Contact Me button. I'd love to help you with your knitting. :)
