- Home
- Knitting Instructions
- Knit Stitch
Knit Stitch For Beginners - Learn How To Knit
The knit stitch is the most basic and very beginning point to learning how to knit.
It's really important to know because knitting is made up of two stitches, knit and purl and these two stitches will be the basis for all your knitting projects.
Most people start knitting by learning how to knit stitch and then will move on to learn how to purl too.
When you can knit and purl then the magic starts because you'll be able to create many designs and textures that make knitting so much fun.
And you know what? It's really quite easy and fun to learn and do.
When you knit every stitch on every row it will form a ridged rather squishy and stretchy fabric called the Garter stitch pattern.
This is what Garter stitch knitting looks like. It's simply created by knitting the knit stitch.

It's so simple to create and simply beautiful in all sorts of patterns like my temperature blanket.
It's just a lovely stitch to start with so let's get started knitting stitches shall we?
Ready To Knit Stitch? Come on Let's start knitting
First of all you need to put some stitches on your needle and you start by learning how to make a slip knot for knitting.
The slip knot simply creates an anchor for the stitches you cast on.
Next you need to cast on about 20 - 30 stitches I like using the long tail cast on or the knitted cast on, but you decide.
Are you all set and ready to go? Let's get started...
How to Knit Stitch
This set of photos is the English knitting method where you hold the working yarn in your right hand.
Note: Pictures are on top with descriptions below
 |
 |
Hold your knitting needle with the cast on stitches in your left hand, making sure your working yarn is at the back of your work.
Insert the right needle into the first loop on the left hand needle (left photo). Push the needle through from front to back (right photo).
 |
 |
Then with your working yarn, wrap it counterclockwise around right hand needle bringing it in between both needles (left photo). Snug it up a little bit (right).
 |
 |
With the yarn still wrapped around right needle, bring right needle through that first loop on the left needle to complete the newly formed stitch. (right photo)
Keep pulling that newly formed stitch through the loop on the left needle. (left photo)
 |
 |
Slowly drop the first stitch off the left knitting needle. It has now been worked.

Continue on until you have worked all the stitches on your knitting needle.
What Do You Do When You Reach The End Of The Row?
- Move your right needle with all the new stitches on it to your left hand.
- Put the empty knitting needle in your right hand and start knitting a new row.
This is called turning your work. Typically you start off knitting with the right side facing you.
Then you turn your work and the wrong side faces you and so on.
something to keep in mind when working garter stitch
Remember: When you work garter stitch both sides will look the same so you won't really have a wrong side.
What I do then is use the cast on edge as my first or right side row. I like the looks of the long tail cast on edge and that's my right side edge. But...
If you didn't use the long tail cast on simply decide which side you prefer as your right side and place a locking stitch marker somewhere on that side as a reminder.
Keep in mind though, other than the cast on edge, both sides of Garter stitch are identical.
It's also completely reversible and it lays flat and doesn't curl. There's just so much versatility in this one knit stitch.
Keep practicing until you feel comfortable with it. I promise it will get easier and more comfortable.
For those of you who prefer watching how to knit stitch ...
I have chosen two excellent videos to help you. The first one is the English knitting method. The second is Continental knitting method.
Grab a cup of tea and have a look.
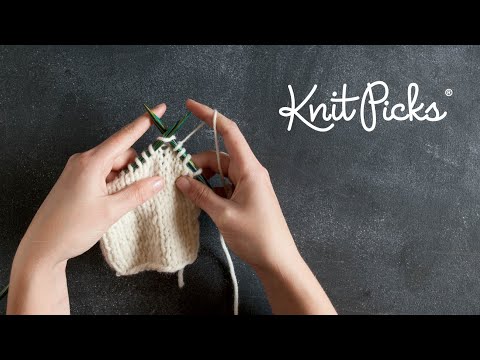
Knit Stitch for beginners Video Tutorial - English Style
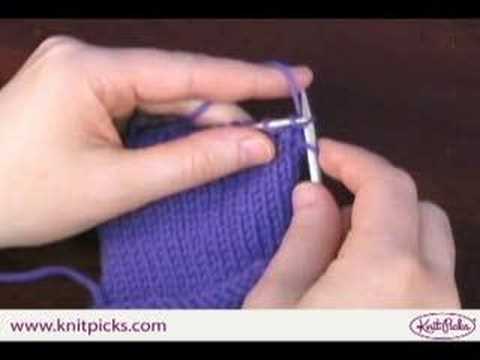
Knit Stitch for beginners Video - Continental Style
Knit Stitch Practice Knitting pattern all in one!
In order to practice the knit stitch properly here's a little exercise and knitting pattern I made just for you! You're gonna love this....yes you can do this I promise!

Practice with an easy knitting pattern, try these absolutely beginner fingerless mitts.
They're just as simple as your practice knit stitch lesson above and you'll get way more out of it because you can wear these.
Get started making things and you won't want to stop! :)
Have some fun knitting!
Bind off all you stitches. Wondering how to cast off? You can learn how to bind off stitches here.
Once you have finished binding off make sure to leave about 6 inches of yarn so that you can weave in the ends properly. That way your knitting won't unravel.
Now simple enjoy!
Or Knit stitch practice knitting lesson #2
With this practice knitting lesson you're going to knit a simple dishcloth in garter stitch
Cast on 30 - 40 stitches
Knit every row until you have a square. Approximately 30 - 40 rows.
Cast off all you stitches. What does cast off mean? It means that you'll learn how to take your stitches off the needle securely.
You can learn how to bind off stitches here.
Once you have finished binding off make sure to leave about 6 inches of yarn so that you can weave in the ends properly. That way your knitting won't unravel.
You have just knit your first garter stitch dishcloth! Congratulations! Yay!
When you're comfortable with knitting you can head on over and learn how to purl stitches. I'll see you over there.
I am a participant in the Amazon Services LLC Associates Program, an affiliate advertising program designed to provide a means for sites to earn fees by advertising and linking to Amazon.com and affiliated sites. If you make a purchase through one of my links I may receive a small commission. This will not affect the purchase price and you will not pay more when you buy through my link.
Copyright © 2011 - 2026 by Vickie Danielsen All Rights Reserved
Please don't copy the content of this site. It is Copyscape protected
